Making Beer
One of life's joys is drinking beer. Beer is the drink of the Gods. But why just be a simple consumer when you can be a producer? Making beer is time consuming (2-3months), yet fun and the end result is very satisfying. Well I made two batches of beer a couple of summers ago and decided to make a batch this summer. I am documenting my progress through my site. Also, I make beer from a kit, I'm not ready to make beer from scratch yet.
So how is beer actually formed?
Beer is formed when yeast eats sugar. Yeast eats sugar and excretes a waste product known as alcohol. This is a simple explanation, but one I will beat into the ground
Here's a laundry list of stuff you need
1. Beer kit (duh)
2. Sanitizer... explained below
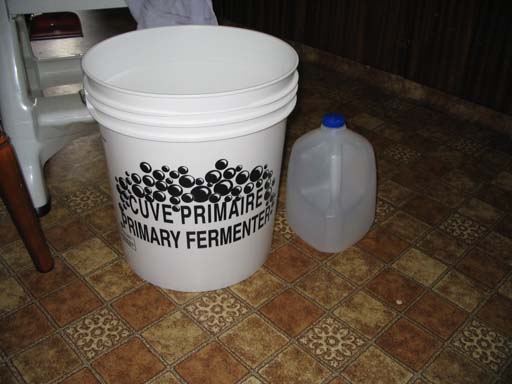
3. 23 liter pail
4. Sugar, preferably dextrose
5. Airlock
6. Bung... not the hole
7. Water
8. Syhpon hose
9. Something to bottle the finished product in
Optional stuff that is highly recommended
1. Glass Carboy
2. Hydrometer
3. Thermometer
4. Funnel
Step 1: Buy the beer kit
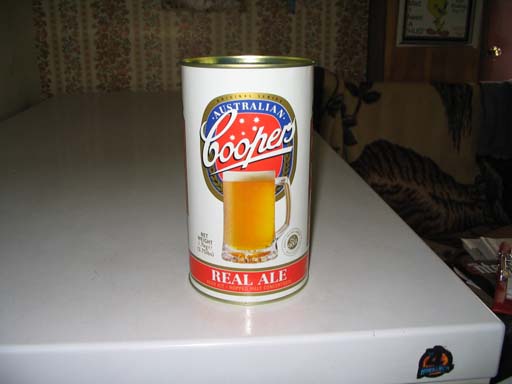
First thing is first. Go buy the beer kit. These range in price from $12 to over $80. It all depends on your preference. Just remember though, $80 is a lot of money to spend to have the beer not turn out right. Also the more expensive kits are more touchy and easier to ruin. Currently I am brewing a $12 kit pictured below.
Step 2: Sanitization
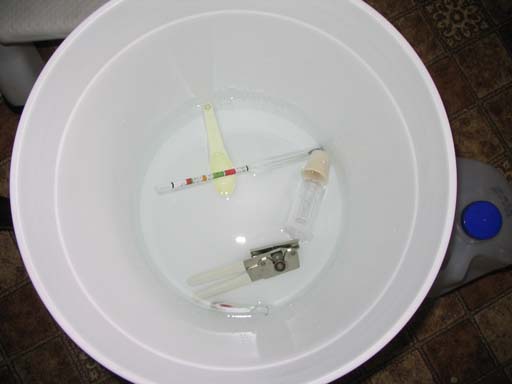
You must now sanitize everything that will come into contact with your beer. This is vitally important. If any bacteria or mirco organisms are on your beer making equipment and get into the beer mixture, you're beer will be ruined. The alcohol in beer is formed when yeast eats sugar and excretes the alcohol, therefore you must keep the yeast alive. Yeast can fall pray to mold, bacteria, etc. No yeast means no alcohol. The whole idea is to keep the yeast alive. So to sum up step 2, sanitize everything.
sanitizers are usually powders that are purchased at grocery stores and beer supplies stores. Just mix the powder with the appropriate amount of water. Dump the sanitizer/water combo in the bottom of your pail. Put all the equipment in the barrel as well, that way you can sanitize everything at once. As pictured below.
Step 3: Starting the beer on it's way
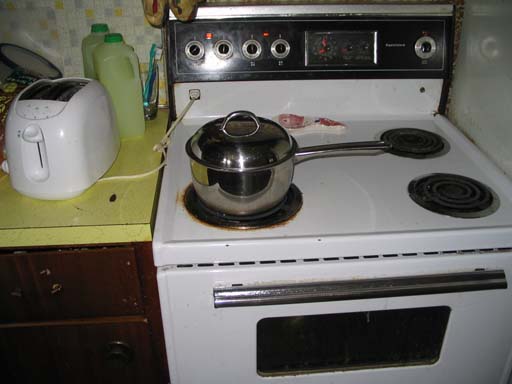
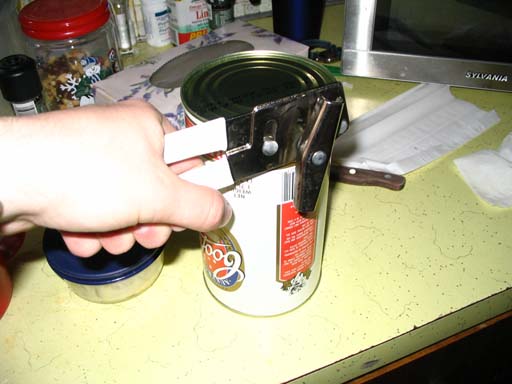
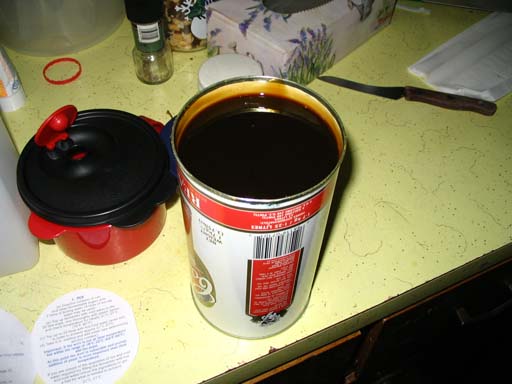
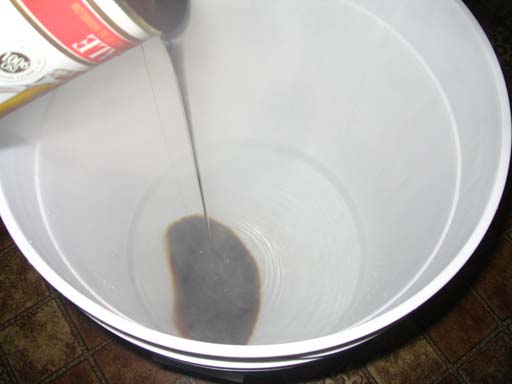
After everything is sanitized, we must boil some water. In this case 2 liters of water. After the water comes to a boil you put the contents of the beer kit in the boiling water. The instructions said to let it dissolve in the water, but I can't see that happening with such little water. Anyhow, after dissolved you have to put the water/can contents into your 23 liter pail. When you see the pictures you'll notice I put the boiling water into the pail before the can contents... I didn't read the intructions close enough. Pictured below in order are: The boiling water, me opening the can, the contents of the can, and finally pouring the the can into the pail.
Step 4: Add water and seal
After you add the boiling water/contents of can to the pail, you must fill the pail to the 20 liter mark with cold water. Once filled the temperature should be 21-27 degrees C. You must now fill the pail to the 23 liter mark with water. The water you use should help you to acheive a temperature of 21-27 degrees C.
Ok, now that everything is in the pail and at the right temperature we must add the yeast. Yeast is very vunerable, to temperature extremes, bacteria, etc. So the temperature must be ideal. Anyhow add the yeast and put the lid on the pail, insert the bung and airlock in the hole in the lid. As pictured below.
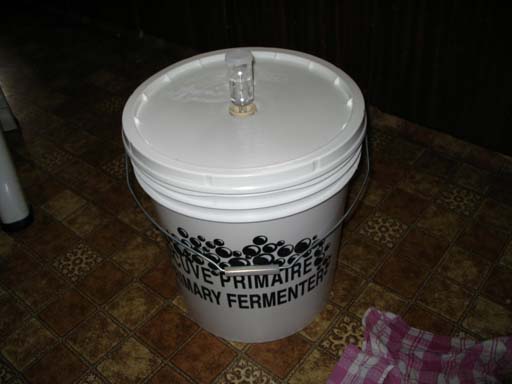
Just to give you a sense of how much beer we will have when we're done, look at the size of a four liter water bottle and the pail with our beer.
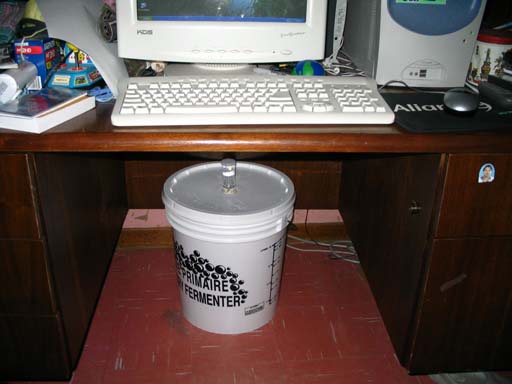
Now try to find a spot that will allow the pail to sit undisturbed for a week, as yeast doesn't like to be disturbed. Also find somewhere that will be at room temperature all the time. The yeast doesn't like temperature fluxuations or exteremes. As you can see the yeast is kind of wimpy and needs our protection. But for all our trouble, the yeast will pay us back quite nicely. Pictured below is where I keep my pail... under my desk. I am now covering it with a blanket to ensure a good temperature.
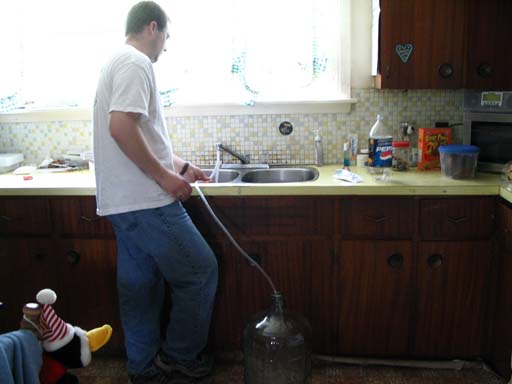
Step 5: Wash out the carboy and equipment
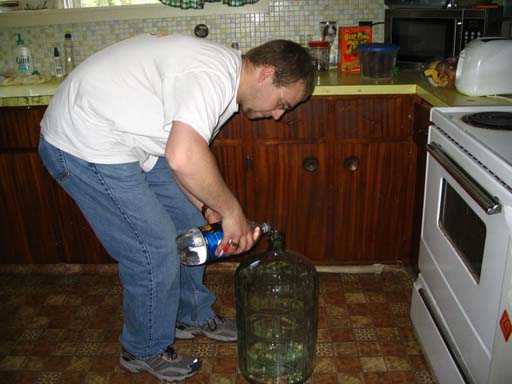
After being in the pail for a week the beer mixture is ready to be transferred to a glass carboy. Before we do this we must clean and sanitize everything. Although I made the carboy a recommended item, I always do this step. Anyhow, fill the carboy with some warm water, only a few liters. while the water is sitting in the carboy you should go grab your syphon hose. Fill the carboy halfway using the syphon hose as depicted below. This way the sypon hose and carboy get cleaned out together... you can always wipe down the outside of these items, but getting the inside clean may be tricky so I do it this way.
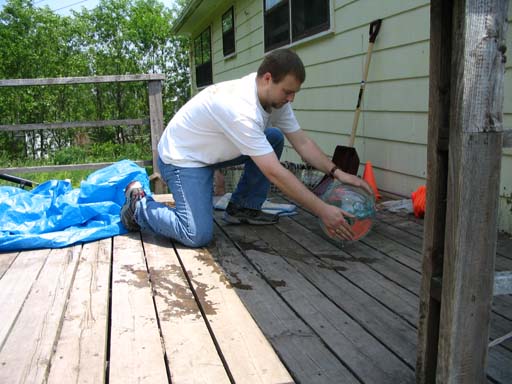
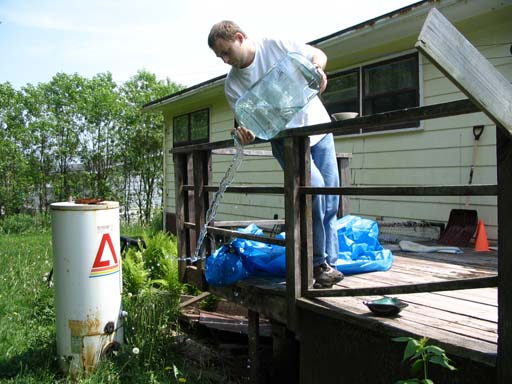
Now that the carboy is half full of water I roll it around on a flat surface to ensure the inside has been cleaned out. Once again, the outside may get dirty, but you can wipe it down. I did this outside because the water tends to leak out the top when rolling the carboy around... no matter how tight the seal. Then just dump the water out whereever you want to. Not that I had to depict this, but the picture looks cool.
I had my mom take these pictures... after this was all done I noticed she took a pic of my dad... why? I don't know, but I'll put the pic up anyway.